
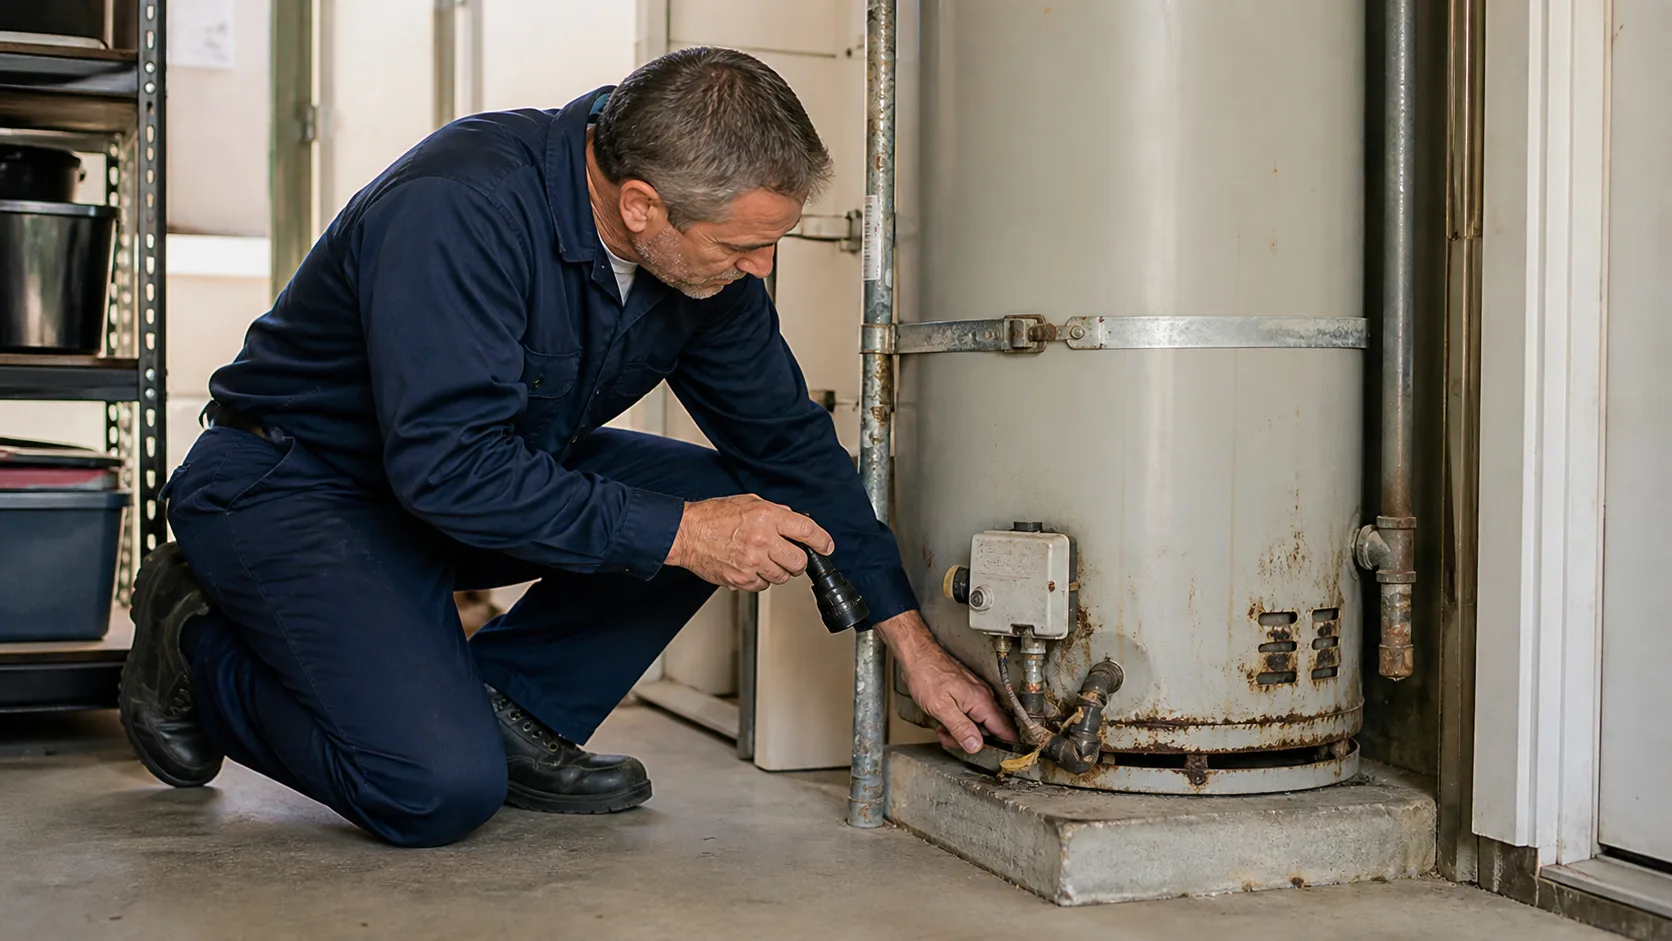
Water at the bottom of a water heater can come from the tank shell, drain valve, relief discharge, inlet or outlet above, a nearby pipe, condensation, or another appliance. The puddle shows where water ended up, not necessarily where it began.
Treat active leakage seriously. Keep away from electrical connections, do not touch wet gas controls, and turn off fuel or power and the cold-water supply only if the controls are dry, accessible, and familiar. Call for urgent service when water is spreading.
Look for the highest visible wet point
Use a flashlight from a safe distance and inspect above the puddle. Water from top connections can travel beneath insulation or down the jacket before appearing at the base.
Dry accessible exterior surfaces and observe where moisture returns without removing panels. Do not place hands near energized wiring, burners, or hot relief discharge.
Drain-valve leaks
The drain valve sits low on most tank heaters, so a loose cap, damaged thread, failing washer, or cracked valve can wet the base. A small valve leak may be repairable when the tank itself is sound.
Do not force a plastic or corroded valve. Breaking it can release the tank's contents rapidly. A controlled replacement requires shutting, cooling, and draining the equipment safely.
Relief-valve discharge
The temperature and pressure relief valve protects the tank. Its discharge pipe may terminate low, making water appear to come from the bottom. Discharge can result from a failing valve, excessive temperature, high pressure, thermal expansion, or another unsafe condition.
Never cap, plug, or valve off the relief pipe. Record when discharge occurs and have the cause tested.
Condensation and combustion moisture
Some gas equipment can produce temporary condensation under certain operating conditions, but repeated puddling should not be dismissed. Venting, combustion, temperature, and drain routing need evaluation.
Condensing tankless systems have dedicated condensate components. A blocked or disconnected drain can mimic a water leak around the unit.
Tank-shell or bottom-seam failure
If water emerges through the jacket, shell, or corroded bottom seam, the storage vessel has likely failed. A tank cannot be safely patched from the outside for continued service.
Replacement planning should start promptly. Continued heating and pressure can increase leakage and property damage.
Why turning off only the faucet does not help
A water heater is supplied continuously from the home's cold line. Closing hot faucets does not isolate the tank. Use the dedicated cold inlet valve or main shutoff if safe.
Even after shutoff, a full tank contains substantial water and can continue leaking by gravity. A plumber may need to drain it through a controlled hose route.
A drain pan contains evidence; it does not identify or repair the source
Water in a pan can arrive from the tank, a connection above, relief discharge, condensate, a blocked pan drain, or an unrelated appliance or pipe. Inspect the highest safe visible wet point, note whether the pan outlet is carrying water, and preserve the timing. A pan that is dry outside its footprint does not make an active equipment leak harmless.
The pan and drain route should be evaluated during repair or replacement for material condition, slope, termination, obstruction, and capacity, but they are secondary protection rather than a substitute for correcting the leak. Do not plug a pan or relief drain to stop water on the floor. If the route enters a wall or cannot be observed, include its verification and restoration assumptions in the written scope.
Prepare for repair or replacement
Share the equipment type, model, fuel, leak rate, shutoff condition, location, stairs, and floor drain or exterior access. Wide photos of the full installation show venting, piping, pan, drain, and clearance.
Ask whether the diagnosis points to a serviceable connection or the tank itself. For replacement, compare capacity, infrastructure changes, permit scope, removal, and commissioning—not just the equipment price.
- Avoid wet electrical and gas controls
- Turn off energy and cold supply only when safe
- Never cap relief piping
- Expect water to continue from a full tank
- Photograph the full installation
- Begin dryout if building materials are wet
Prepare for a productive service visit
For a faster diagnosis, photograph the entire heater from several feet away as well as the highest visible wet point. Include the top connections, relief discharge route, drain valve, pan, vent or electrical connection, model label, and the floor around the unit. Note whether water appears only while the burner or elements operate, after a long hot-water draw, or continuously with the equipment off. These details help separate a pressurized supply leak, temperature-related discharge, condensate issue, and failing storage tank before parts are discussed.
If replacement is recommended, request a complete installed scope. It should address capacity, energy source, shutoff valves, connector materials, venting or electrical supply, combustion air where relevant, drain pan and route, relief discharge, thermal expansion, seismic restraint, permits, removal, and startup testing. A like-for-like equipment label does not guarantee a like-for-like installation because codes and site conditions may have changed. Also confirm who handles water-damaged flooring or walls; stopping the heater leak and drying the building are separate responsibilities.
After repair or replacement, ask the technician to show the normal shutoff position, safe visual inspection points, pan or drain route, and maintenance schedule for the installed model. Save the commissioning measurements and photographs. Check the surrounding floor again after the first full heating cycle and after a period of normal use without touching hot or energized parts. An early follow-up observation can catch a connection seep, drain-routing problem, or continued moisture from building materials before storage is returned around the equipment.
What to do next
If water is collecting around the heater, call Brentwood Plumbing & Heating before damage spreads. A clear diagnosis will separate a repairable valve or connection from a failed tank that needs replacement.